As of January 23, 2007, everyone must have a U.S. Passport in order to get back into this country after you travel to Canada or other countries.
So… you might be able to leave this country without a Passport in hand, but you definitely won’t be allowed back into the U.S. once you leave!
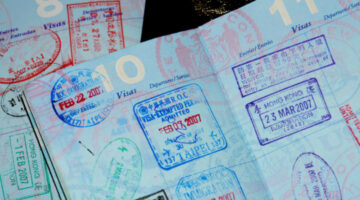
We got our first-ever U.S. Passports this week. And it was sooooo easy.
Here’s how to do it…
Online Passport Options

First of all, I didn’t know that you could get your passport online.
How easy is that?!
Well, you do still have to go somewhere to get your Passport photo taken. (It costs about $15 if you let your local Post Office do it.)
Or, you can use this free online tool to make your own passport photo, just pay $4.99 for S&H.
And… drop everything off at your local Post Office.
But overall, it’s still a lot easier than I imagined it would be.
Quick & Easy Steps To Get A U.S. Passport
- Fill Out The Application Online
It’s found at the U.S. Department of State’s website. (It’s really quick & easy.)
Before you start, know that you have to be familiar with the birthdates, birth places, and full (maiden) names for your parents, and the same for your wife (or former wife, if you’re not currently married).
- Save The Application
Then click “create form” which creates a .pdf form with all of the information you supplied filled in.
A box pops up that you might be inclined to “close”, but don’t. Instead, put a checkmark next to Open so your completed .pdf form will open up on your computer screen. You can review it for changes, or just print it out.
- Get Your Photo Taken
After you print out your completed form, hop in the car and go to the nearest photo lab. (Think: FedEx, Walgreens, CVS… most stores with photo labs have the ability to take Passport photos.)
Tips regarding the photo: We went to our local FedEx Office store where they had a very high-tech digital camera — unlike any I’ve ever seen before! I stood next to a white screen and was told not to smile (“because it messes with the face-recognition programs”). You cannot wear any hats, sunglasses, etc. (But apparently you can be sporting a 5 o’clock shadow, as the guy in line for a Passport photo next to us clearly had a 10 o’clock shadow going for him — which didn’t seem to raise any red flags. While, I was told that my “smile” would.) Jim & I each paid $15 for the 2 photos required to be sent in with your Passport application (I’m sure you could find cheaper places), and we moved onto the next step.
By the way, the lady at the Post Office told us that you can’t normally get away with using headshots cut from your own photographs. The reason? The places that take “professional” Passport photos have their equipment set to perfectly capture the right angle of your face, the perfect blank background, and the right overall size required by the U.S. Department of State.
- Head To The Passport Center
Take your completed form and two (2) Passport photos to your local post office (normally, it’s the “main branch” for the county you live in). Ours had a Passport counter, so you could avoid the long line associated with people mailing packages and buying stamps.
It is there that you hand over your completed form. Show them your driver’s license. Give them your birth certificate. (Yep! They mail it off with your Passport application, and you get it returned to you when they mail you your Passport.) Pay them your fees. ($67 to the Department of State and $30 to the Post Office.) That’s it. You’re done. (I have to admit… it felt really strange putting my one and only birth certificate into the hands of someone else, and having nothing to show for it.)
How Soon Do You Receive Your Passport?
Generally, you can expect it to take 6 to 8 weeks. If you need it sooner than that, you would have to pay additional fees to expedite the process.
To rush the delivery of your Passport, it would cost an additional $60, plus overnight delivery costs (both ways). (At our Post Office, they said it would cost a total of $88.)
Taking into consideration the amount of time it takes them to actually create your Passport, you can estimate a 2-week turnaround time if you pay for their “rush service”.
Did You Know?…
New Passports are “microchipped” so to speak with an electronic version of the information embedded in the passport itself — in an effort to prevent fraud.
Check out the e-passport or Electronic Passport FAQ.
Need To Renew Your Passport?
If you just need to renew your U.S. Passport, you can do that entirely online.
Simply fill out this form on the U.S. Department of State’s website.
Then mail your current (old) Passport, a check for $67, and two identical Passport photos to the address listed on the online form.
You can also request rush delivery on your Passport renewal, as well.
We got our Passports in the mail today! (Yes, our birth certificates were there too.) So that means 8 weeks (2 full months) turnaround time. Keep that in mind if you need a Passport for your upcoming travels.
More Great U.S. Passport Tips
- Tips For Getting Your First Passport
- 10 Reasons To Get Your Passport NOW!
- 10 Passport Tips That Will Save You Time, Money & Headaches

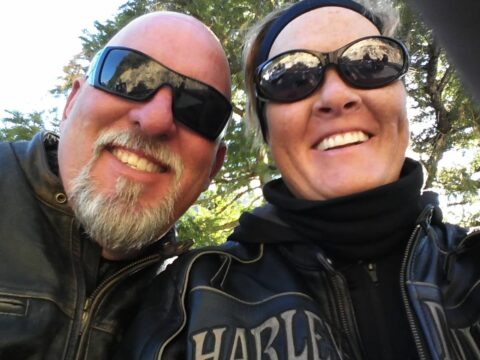
As a lifelong traveler, I like to help people find unique ways to do things that will save time & money — so I write about "outside the box" Travel Hacks that most wouldn't think of. I'm SUPER organized and I love to pack! I've lived in 6 different states (Florida, Indiana, New York, Ohio, Tennessee, and Texas) and have visited every other state in the U.S. — except Hawaii. (Can you say bucket list?) I've been on several different cruises, airplanes, and boats in my life and I currently enjoy the outdoors by bicycling, motorcycling, Jeeping, RVing, camping, or just walking my dogs. My favorite "hobby" is riding on the back of our Harley-Davidson Road Glide traveling cross country — which we usually do at least once each year. We even rode from Tennessee to Alaska once! When I'm not on the road, you will find me at the corner of Good News & Fun Times as publisher of The Fun Times Guide (32 fun & helpful websites).